
How To Install MongoDB Compass On Windows
Provides all the steps required to install MongoDB Compass on Windows and getting started with MongoDB.
MongoDB Compass is the database tool provided by the MongoDB team. It's the official GUI tool to manage MongoDB databases. We can use MongoDB Compass to structure the document and also perform the database operations including querying, indexing, document validation, etc.
In this tutorial, we will discuss the steps required to install the Community Edition on Windows 10 using the MSI installer distributed by the MongoDB team.
The MSI installer of MongoDB also provides an option to install MongoDB Compass while installing the server. In case you have not installed MongoDB server yet, you can follow How To Install MongoDB on Windows to install MongoDB Compass with the server.
Download MongoDB Compass
Open the download page to view the download options available to download MongoDB Compass as shown in Fig 1.
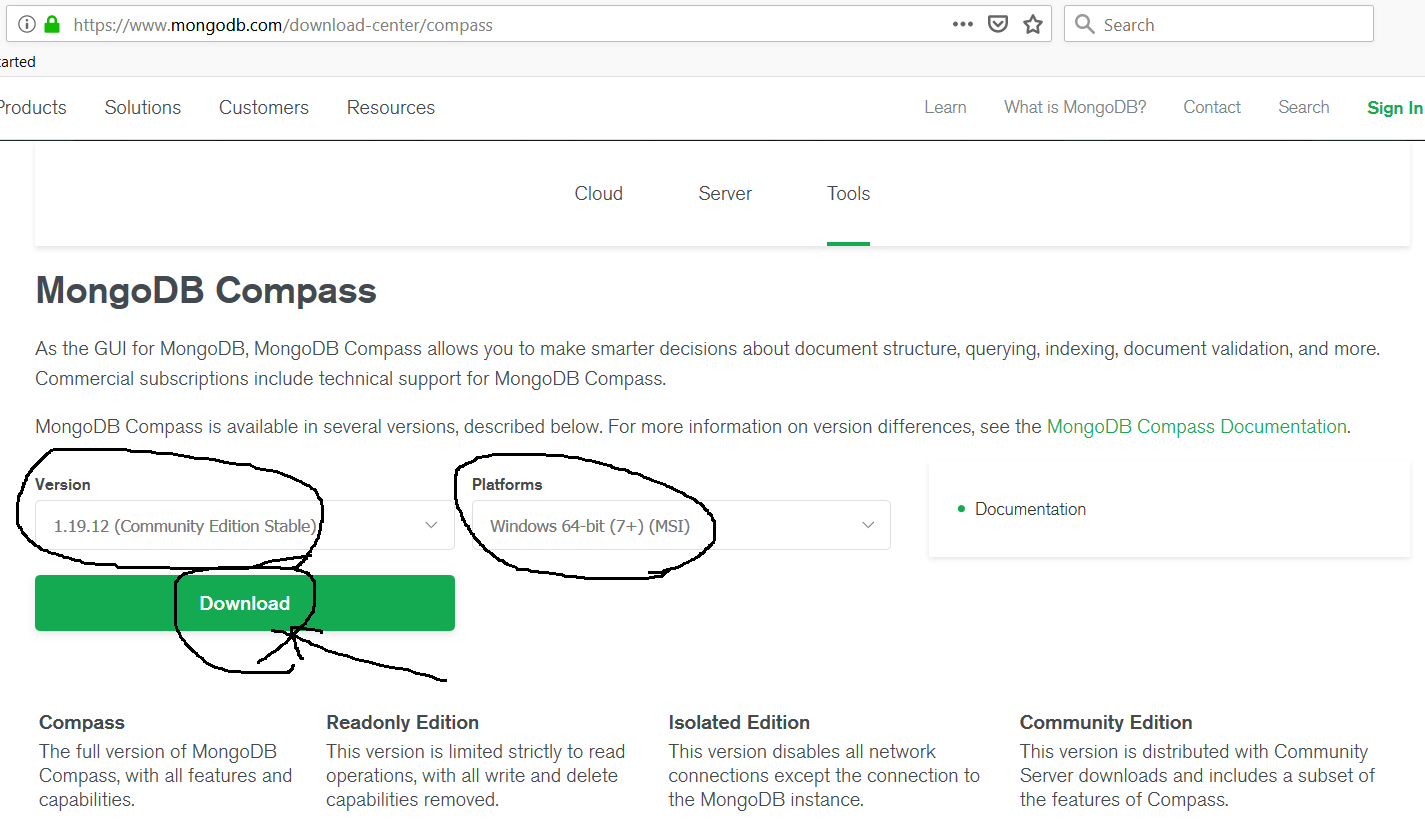
Fig 1
Click on the Download Button to start downloading the MongoDB Compass.
Install MongoDB Compass
In this step, we will install the MongoDB Compass using the installer downloaded by us in the previous step. Now double-click the installer to start the installation. It will show the welcome screen as shown in Fig 1.
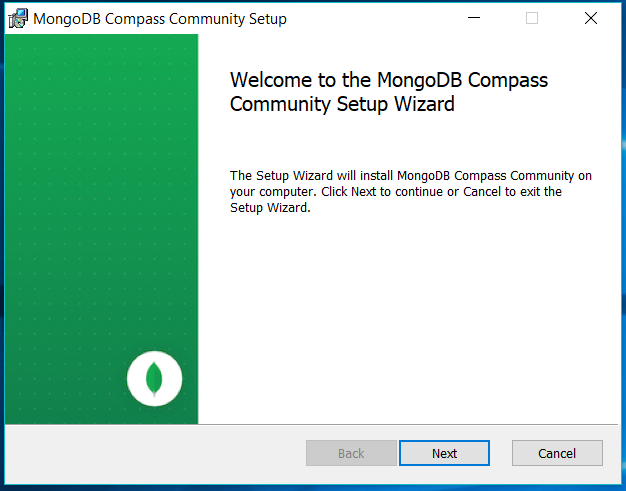
Fig 2
Click on the Next Button to configure the installation path as shown in Fig 3.
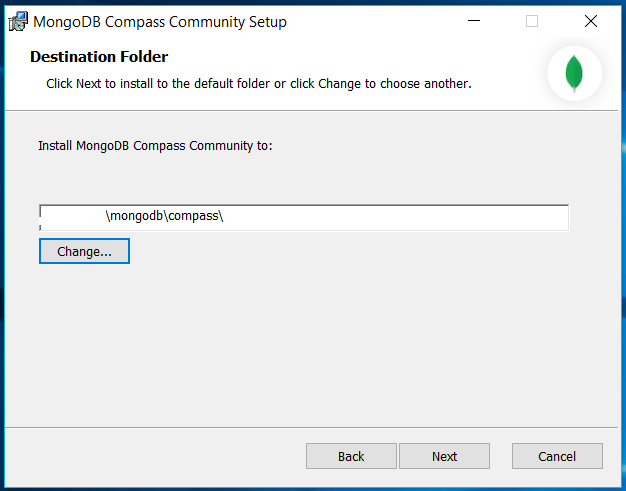
Fig 3
Now click on the Next Button to confirm the installation as shown in Fig 4.
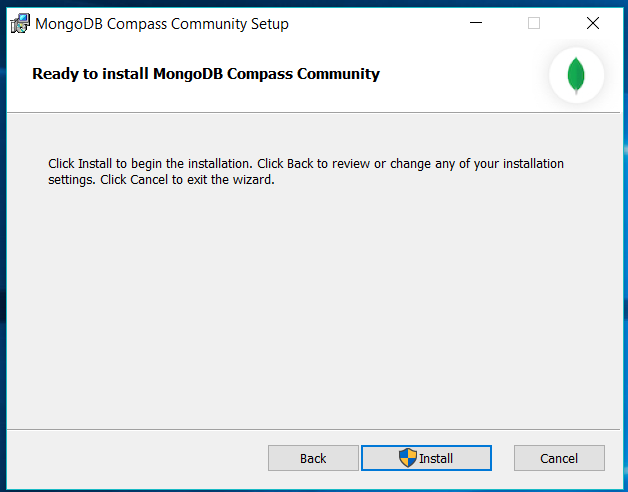
Fig 4
Click on the Install Button to start the installation. It will ask for system permission to make changes as part of the installation process. Allow it to continue with the installation. It will show the installation progress as shown in Fig 5 and Fig 6.
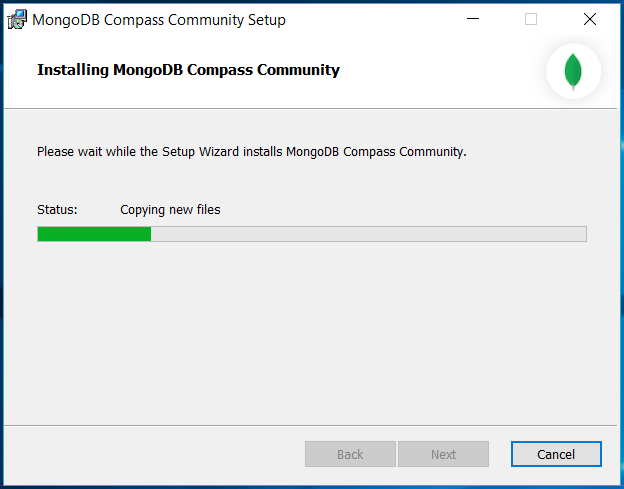
Fig 5
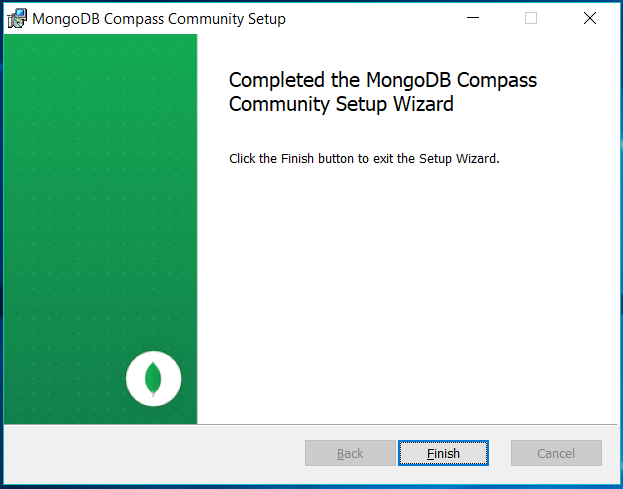
Fig 6
Click on the Finish
Setup Admin User
Open the command prompt and type mongo to connect the MongoDB server running as system service on the default port i.e. 27017. It will launch the MongoDB shell as shown in Fig 7.
# Launch MongoDB Shell
mongo
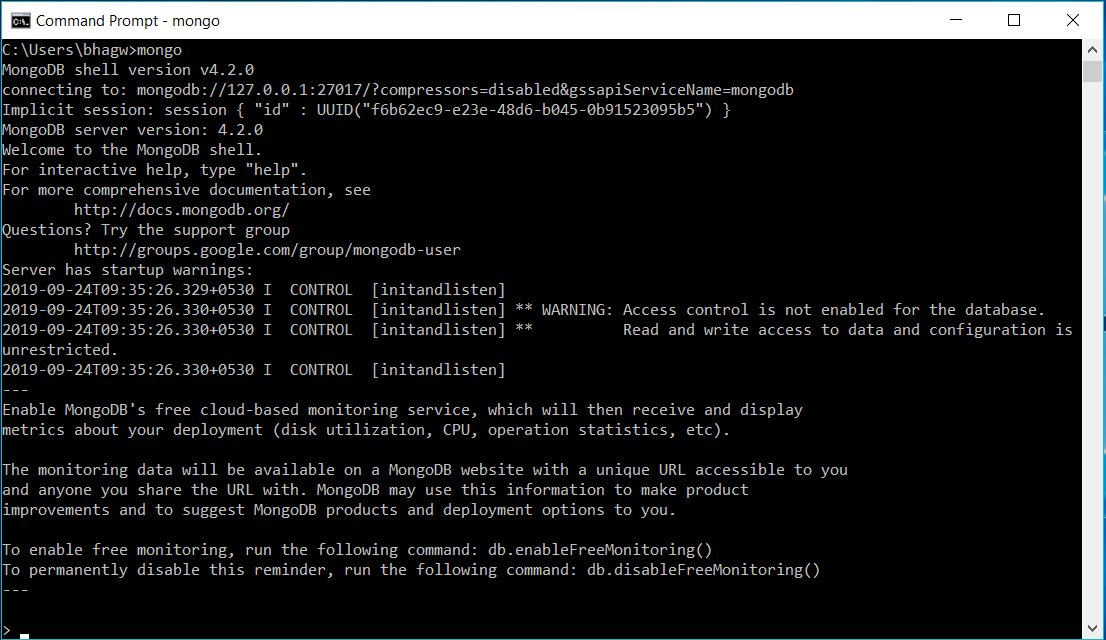
Fig 7
It shows the warning message indicating that the RBAC is not enabled. MongoDB provides options to create the Authentication Database to store user details and privileges across different databases. The same user having appropriate permissions can act on multiple databases using the Role-Based Access Control (RBAC). The RBAC provided by MongoDB governs access to a MongoDB system.
Now list the databases as shown below.
# List Databases
show databases

# Output
admin   0.000GB
config  0.000GB
local   0.000GB
We can see that MongoDB has already created three databases i.e. admin, config, and local. Now we will add the user admin with root role to the admin database using the commands as shown below.
# Switch to admin database
use admin

# Create the admin user with root role
db.createUser( { user: "admin", pwd: "<password>", roles: [ "root" ] } )

# Output
Successfully added user: { "user" : "admin", "roles" : [ "root" ] }
This is how we can add admin users to the admin database and assign a role to the user.
Getting Started With MongoDB
In this step, we will connect to the MongoDB Community Server using the MongoDB Compass using the admin user created by us in the previous step. Launch MongoDB Compass using the search too as shown in Fig 8.
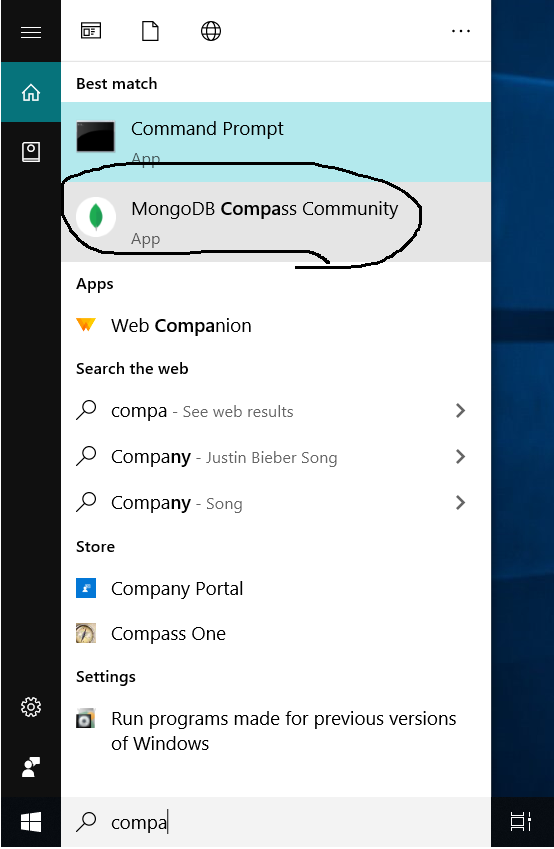
Fig 8
Click on the MongoDB Compass Community option to start it. It will show the welcome screen as shown in Fig 9.
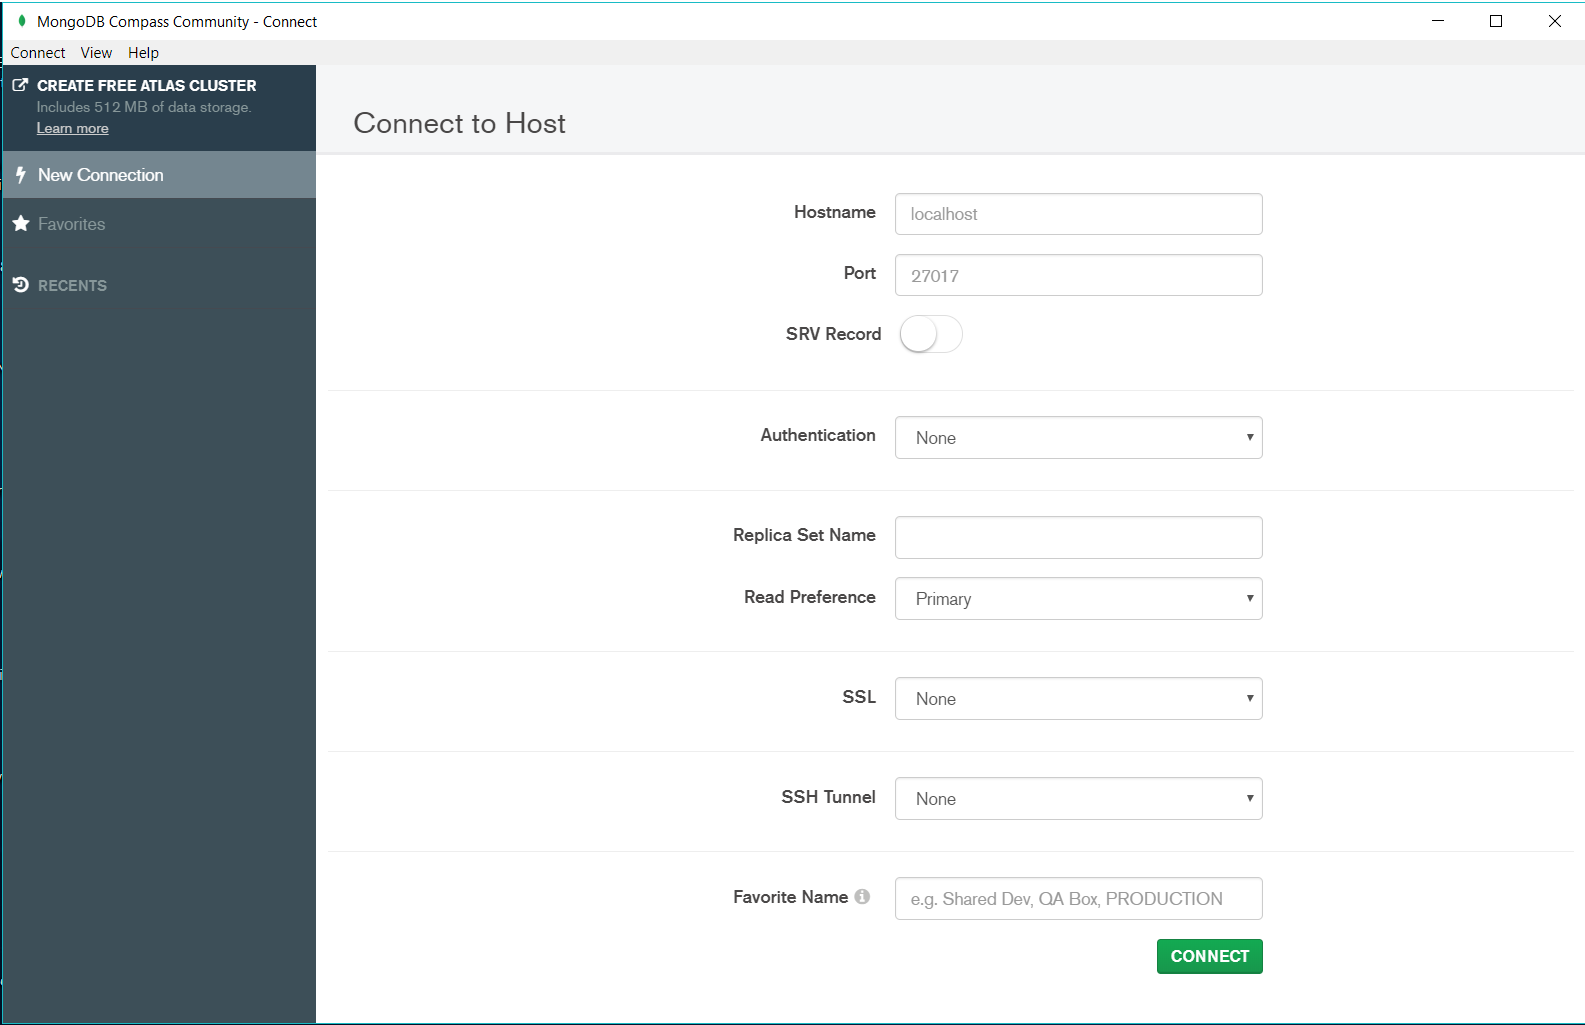
Fig 9
Now configure the connection to connect with MongoDB as shown in Fig 10.
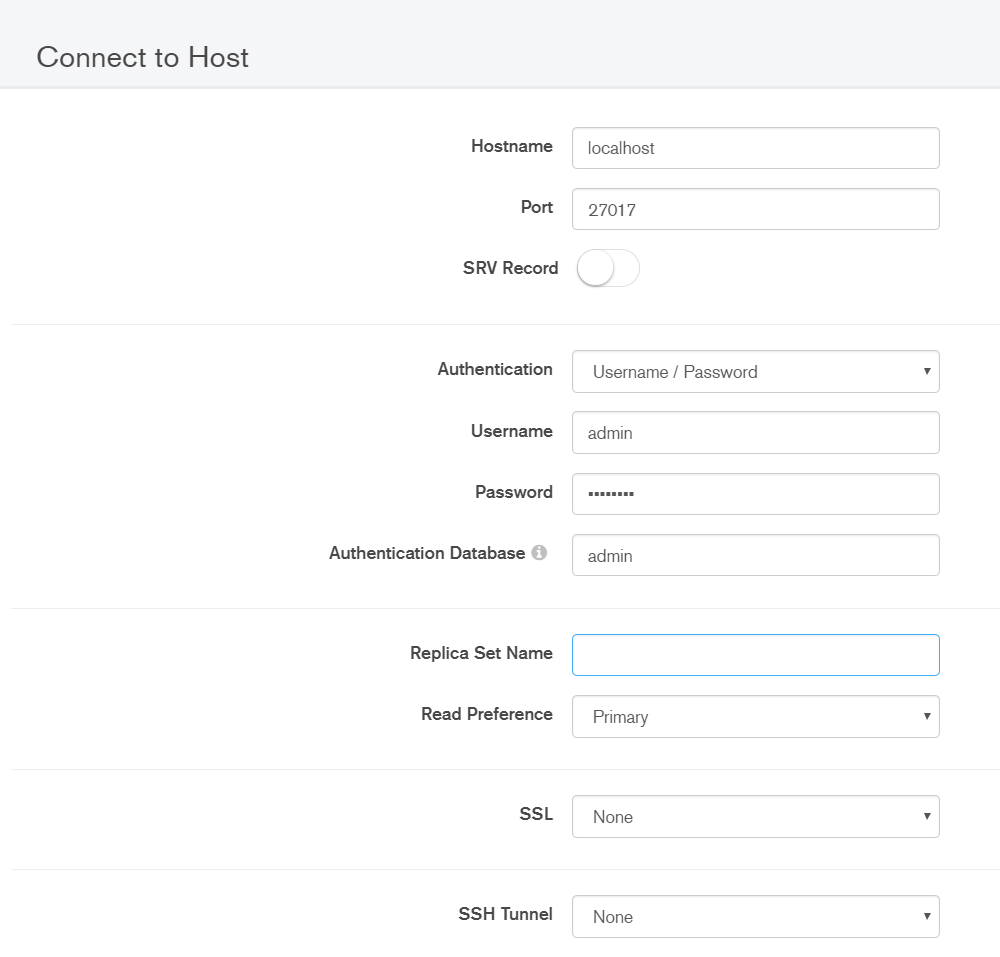
Fig 10
After configuring the connection, scroll down and click on the Connect Button. It will connect to the MongoDB server and shows the default databases as shown in Fig 11.

Fig 11
Now start creating your own database using the Create Database Button as shown in Fig 12.
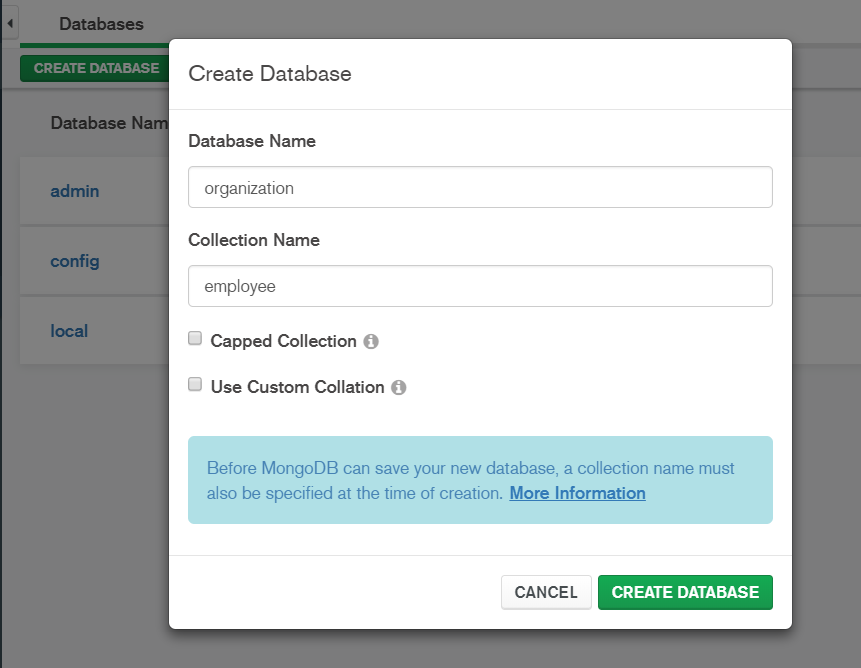
Fig 12
Click on the Create Database Button to create the database Organization with the Employee Collection. It will add the database Organization to the existing database list. Now click on the Organization Link to view the collections as shown in Fig 13.
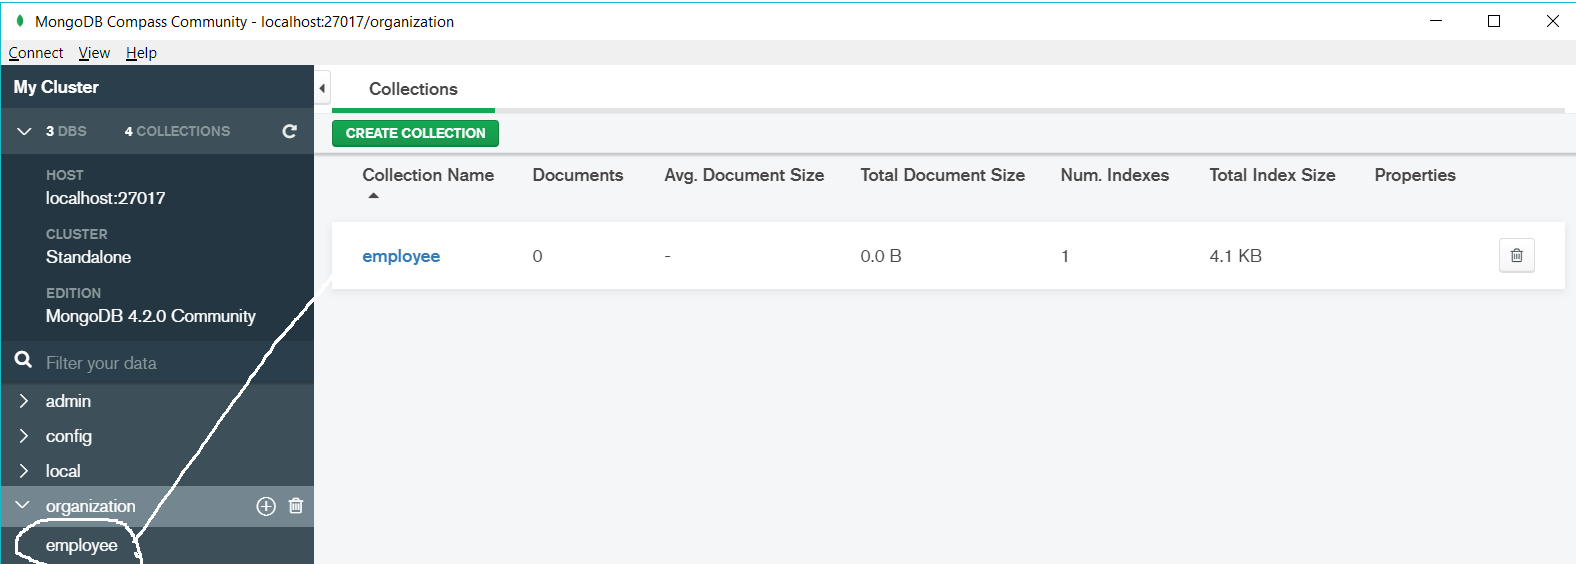
Fig 13
Click on the Employee Collection to view the documents as shown in Fig 14.

Fig 14
Now start inserting the documents using the Insert Document Button as shown in Fig 15.
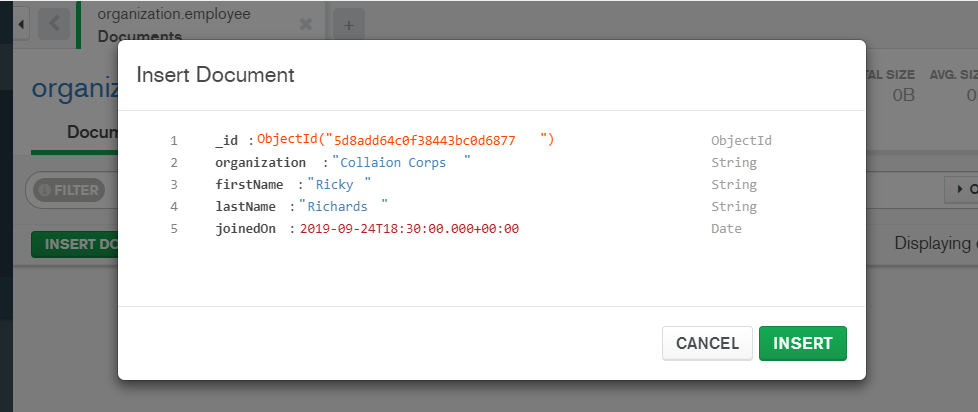
Fig 15
Click on the Insert Document Button to insert our first employee to the Employee Collection of Organization Database as shown in Fig 16.

FIg 16
Summary
This is how we can install the GUI tool of MongoDB i.e. MongoDB Compass. We have also created our first admin user assigned the pre-defined root role. In the last section, we have created a connection using MongoDB Compass to connect with the database server. Now we can manage the databases from MongoDB Compass. We have also created our first database and inserted a document to the collection.


